

Posted by Emily Williams
on June 13, 2023
An easy, step-by-step guide with pictures teaching you how to do the Whip Stitch (or Whip Back Stitch) for your Hand Embroidery projects!
The Whip Back stitch is great to embroider letters, candy canes, ropes, or just add fun detail to your embroidery hoop project.
First, you will begin with a back stitch. To do a back stitch, first bring your needle up through the fabric where you would like to stitch an outline.

Then, bring it back down through the fabric. Continue down the line with these short stitches, making sure to bring each stitch down into the previous hole, like so:

Now, pick out your contrasting color of embroidery floss to add in the "whipped" effect! Bring your needle up with your second color of floss at the start of your line of back stitches.

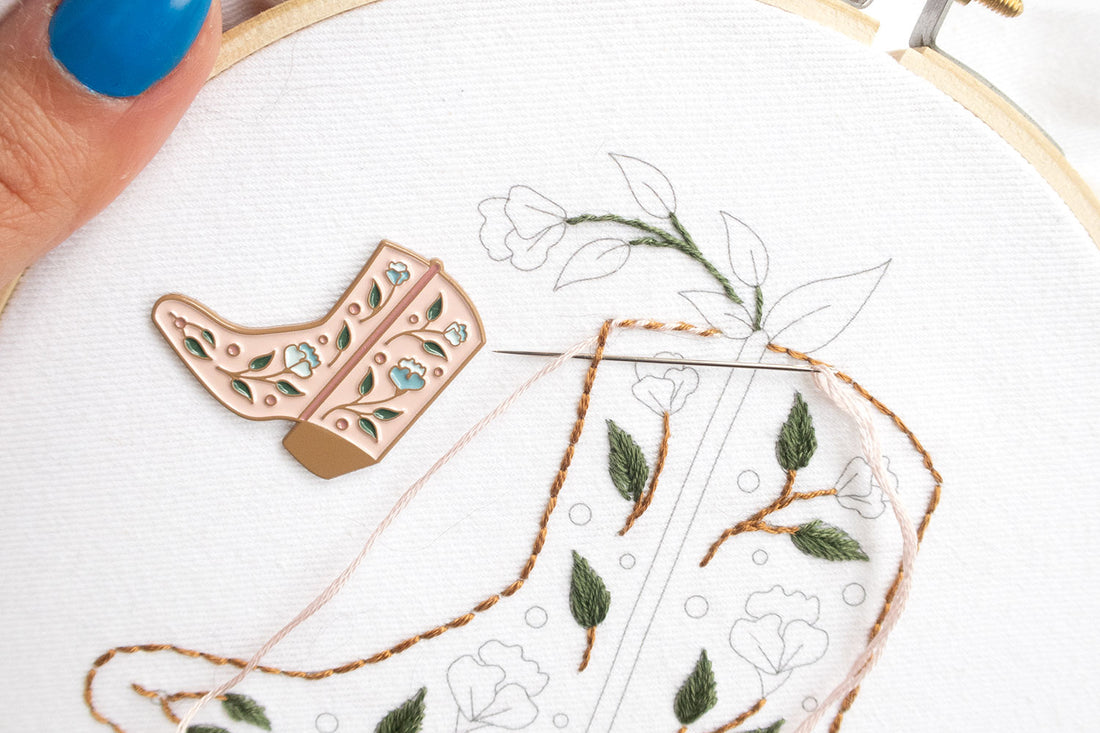
Then, push the needle underneath the first stitch and pull it towards you.

Continue down the line. Make sure that your spare thread is over your needle as you push it through the bottom of each stitch. Make sure you are going in the same direction every time.

It's that easy! Here is the final effect.

Here is a video tutorial of the whip back stitch as well:
https://www.instagram.com/reel/CtbxeVTMKwo/?utm_source=ig_web_copy_link&igshid=MzRlODBiNWFlZA==
(And you can stitch this floral cowboy boot embroidery pattern yourself!)
Here is the digital embroidery pattern:
https://shopemilyjune.com/products/floral-cowboy-boot-hand-embroidery-pattern
And here is the full embroidery kit that comes with everything you need:
https://shopemilyjune.com/products/floral-cowgirl-boot-embroidery-kit
2 comments
Your article is very inspiring with high-quality content. We are sure that you will find additional useful information on our website. Come on, visit us at Jasa Konveksi Bandung and we can collaborate with each other.
Warm Regard.
Here is a outstanding step-by-step guide with pictures to help you learn how to do the whip stitch. I am running an embroidery digitizing company named as one dollar digitizing, for further details, please visit https://onedollardigitizing.com/